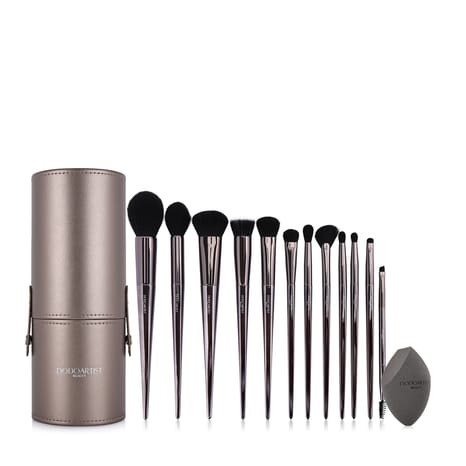
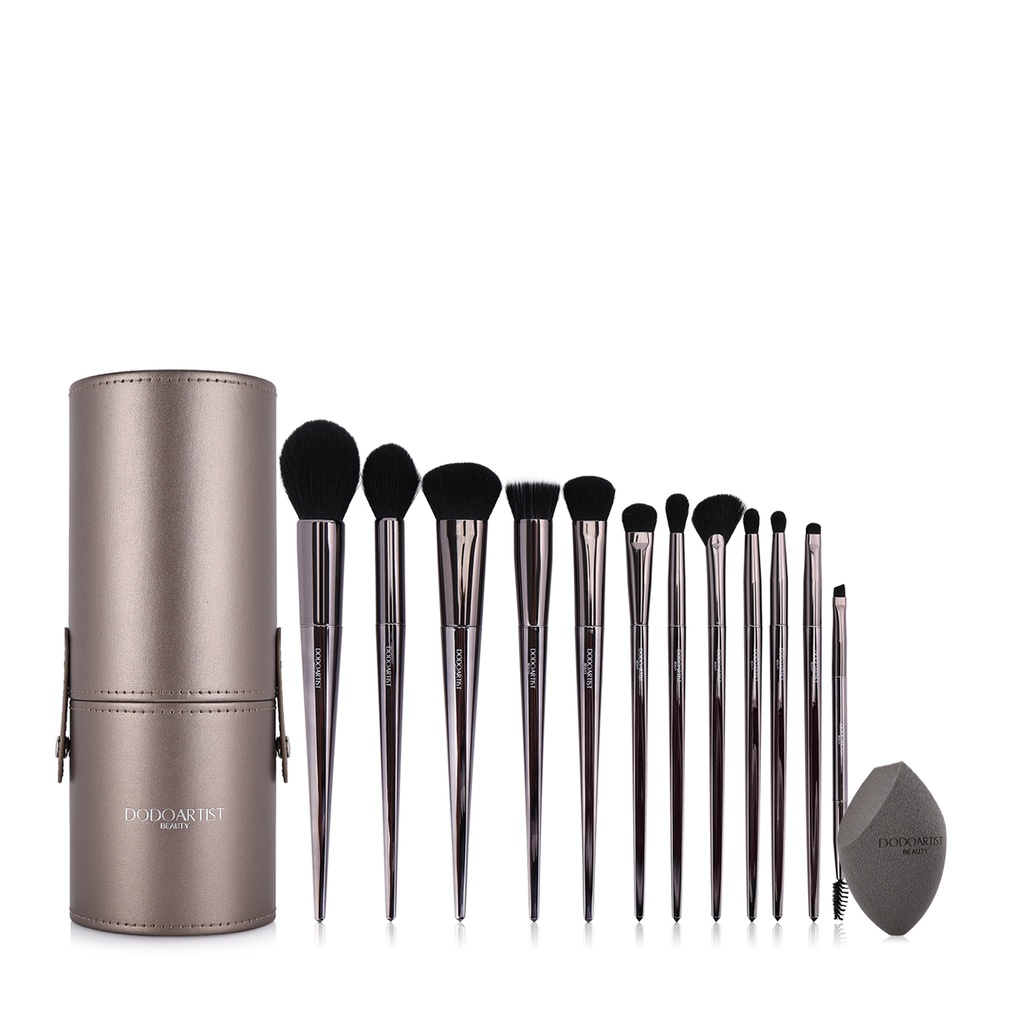
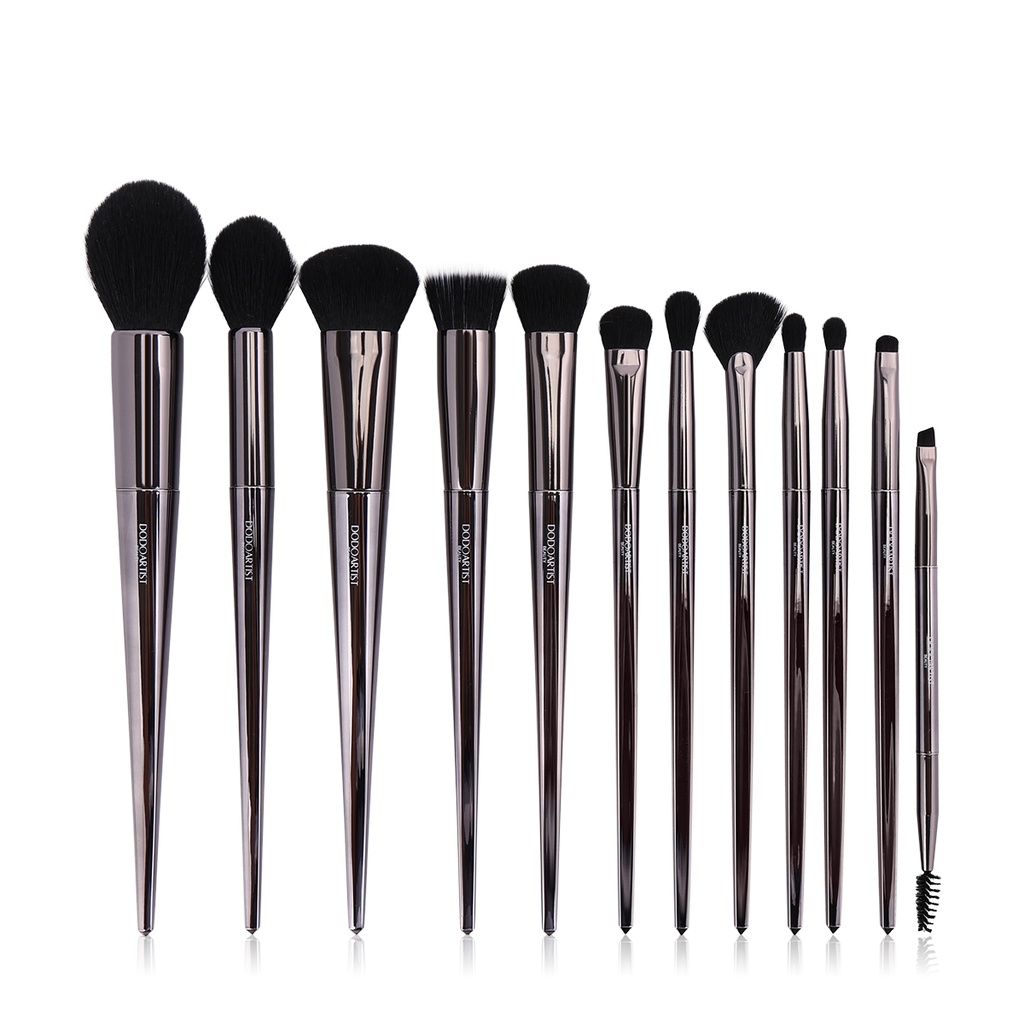
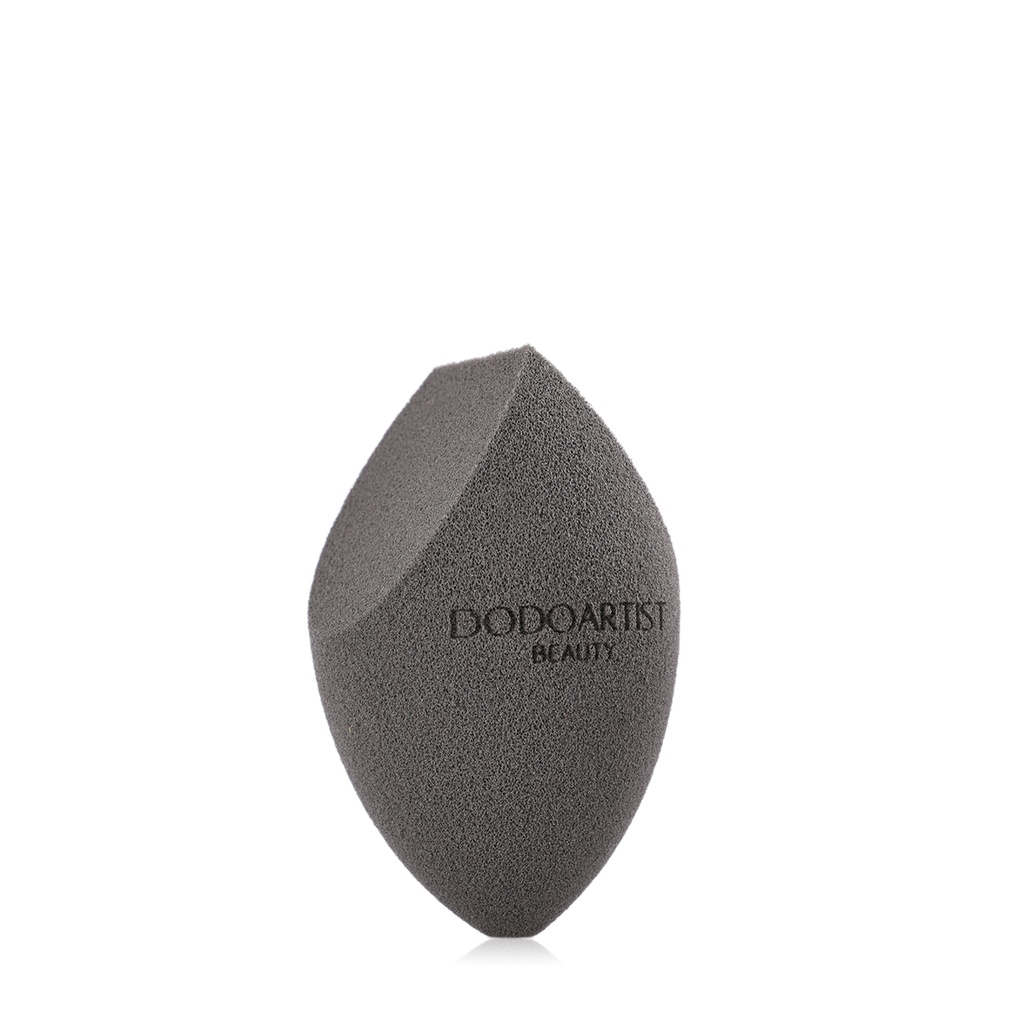
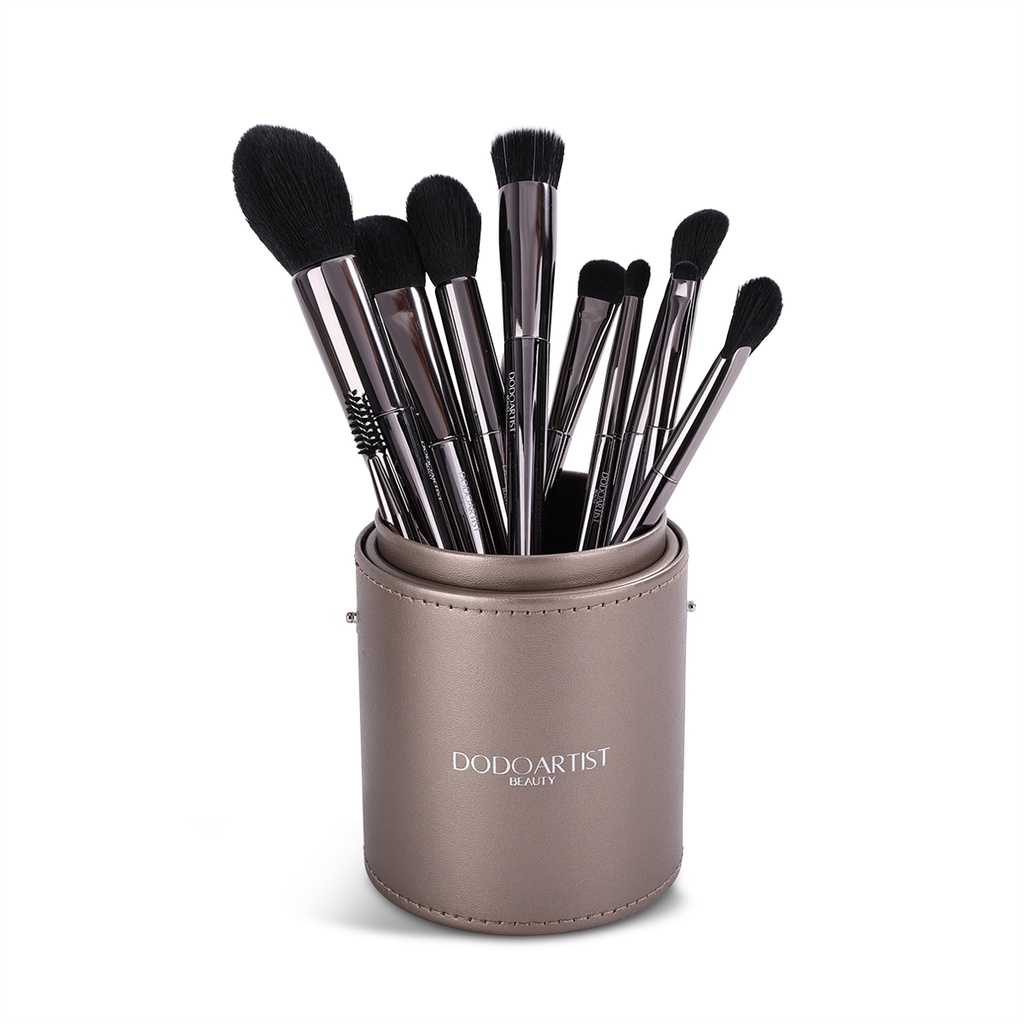
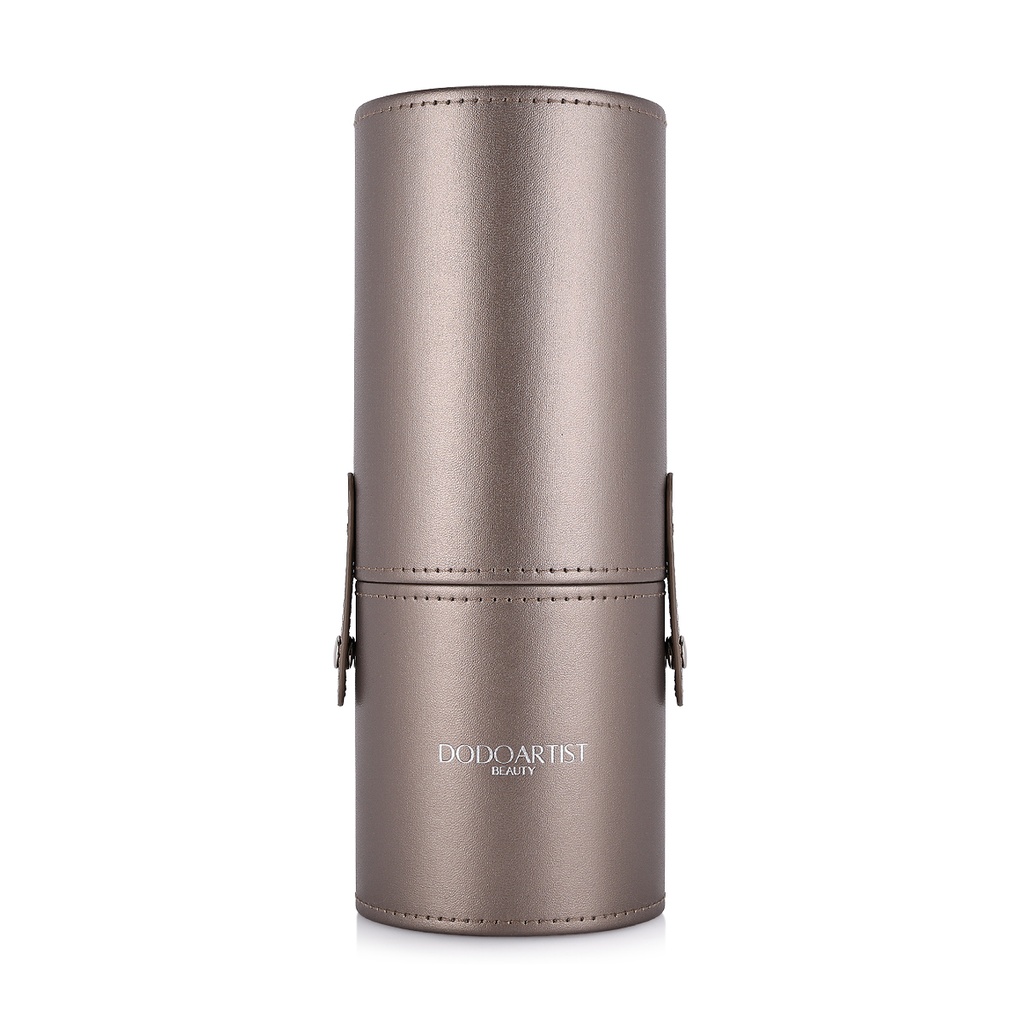
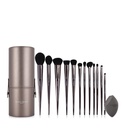
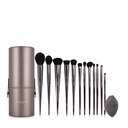
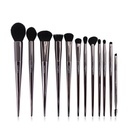
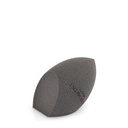
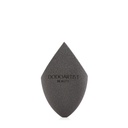
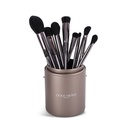
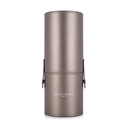
Whether you're applying powder, foundation, blush, or eyeshadow, get the ultimate precision and achieve glamorous looks with Dodo Artist Beauty's brush set. Suitable for both beginners and professional makeup users. Composed of 12 brushes and a beauty blender.
1. Angle Foundation Brush - No. 1
2. Small Angle Foundation Brush - No. 3
How to Use:
- Dispense a small amount of foundation onto the back of your hand or a makeup palette
- Dip the brush into the foundation and pick up a small amount of product
- Apply foundation starting from the center of your face (forehead, nose, cheeks, and chin), blending outward in sweeping or circular motions
- Build coverage gradually by adding more foundation as needed
- Blend along the jawline and hairline for a natural finish with no harsh lines
3. Powder Brush - No. 2
Can be used with loose, pressed, or translucent powder.
How to Use:
- Lightly dip the brush into the powder. Tap off any excess to avoid applying too much product
- Apply to the face using light, sweeping or patting motions. Start from the center of the face and blend outward
- Use circular motions to blend and set your makeup evenly, focusing on areas that tend to get oily, such as the T-zone (forehead, nose, and chin)
- Build coverage gradually by layering if needed, instead of applying too much at once
- For a natural finish, avoid pressing too hard; let the brush do the work
4. Blusher Brush - No. 4
Works best powder or cream-to-powder formulas.
How to Use:
- Lightly dip the brush into the blush, then tap off any excess to prevent over-application
- Smile gently to locate the apples of your cheeks. This is the ideal starting point for applying blush
- Apply using soft sweeping or circular motions, blending the color upward toward your temples for a natural lift
- Build the color gradually for the desired intensity. It’s easier to add than to remove excess blush
- Blend well to avoid harsh lines and achieve a soft, flushed look
5. Highlighter Brush - No. 5
A highlighter brush works best with powder formulas, and can be used with cream, or liquid highlighter.
How to Use:
- Lightly dip the brush into the highlighter, then tap off any excess to avoid harsh lines
- Apply to the high points of your face where light naturally hits (tops of the cheekbones, bridge of the nosem Brow bones, cupid’s bow and center of the forehead or chin (optional))
- Use gentle sweeping or tapping motions to blend the product into the skin for a natural glow
6. Smudge Brush - No. 7
7. Small Smudge Brush - No. 10
A smudge brush works well with both powder and cream formulas. Can be used to apply eyeshadow, eyeliner, or pencil liner
How to Use:
- Dip the brush lightly into the product or use it to blend out applied eyeliner or eyeshadow along the lash line
- Use short, back-and-forth strokes to smudge and soften harsh lines. This creates a smoky, blended effect
- Smudge along the upper or lower lash line to add depth and definition, or to create a smoky eye look
- For more intensity, layer with additional product and blend again until desired effect is achieved.
- Use the tip for precise smudging or the side for a softer, diffused finish
8. Angle Fan Brush - No. 8
The angled shape is ideal for controlled application. Can be used to applu highlighter, bronzer, or powder.
How to Use:
- Lightly sweep the brush across the surface of your powder or highlighter. Tap off any excess product
- Apply to the high points of your face using gentle, sweeping motions: Tops of the cheekbones, bridge of the nose, brow bone and collarbone or shoulders (optional for body highlighting)
- Use the angled edge for more precision and to follow the natural contours of your face
- Blend lightly for a soft, diffused finish. Build intensity gradually if needed
- Can also be used to apply a soft veil of finishing powder or to sweep away excess product or fallout
9. Blending Brush - No. 9
The small and long shape of bristles allows for precise control while still diffusing harsh edges—ideal for detailed blending and defining the crease or socket line.
How to Use:
- Pick up a small amount of eyeshadow with the tip of the brush. Tap off excess to avoid fallout
- Use the brush to apply and blend eyeshadow in targeted areas such as the crease, outer corner, or lower lash line
- Use windshield-wiper or circular motions to softly blend the color for a seamless transition
- Layer and build color gradually, blending between each layer to avoid harsh lines
10. Eyeshadow Base Brush - No. 11
How to Use:
- Dip the brush into the eyeshadow and tap off any excess powder
- Apply the shadow evenly across your eyelid, from lash line to brow bone (or just up to the crease, depending on your look)
- Use gentle sweeping or patting motions to press the product onto the lid for better color payoff
- Blend edges slightly to create a smooth, seamless base for layering other shadows
- Can also be used to apply a light shade as a highlight under the brow bone or in the inner corners of the eyes
11. Eyeshadow Point Brush - No. 12
How to Use:
- Pick up a small amount of eyeshadow (powder or cream) with the tip of the brush. Tap off any excess if using powder
- Use the pointed tip for precision application in small or detailed areas, such as: The outer “V” of the eye for depth and definition, along the upper and lower lash lines for a smoky effect, the inner corners of the eyes for highlighting, and the crease for targeted color placement
- Use short, controlled strokes or small circular motions to apply and blend color precisely without over-diffusing it
- Build color gradually, especially when working with darker shades
- Perfect for creating detailed, dimensional eye looks or enhancing specific areas with contrast or highlight
12. Dual Brow Brush - No. 13
A dual eyebrow brush typically features an angled brush on one end and a spoolie (mascara-style brush) on the other.
How to Use:
- Start with clean, dry brows
- Use the spoolie end to brush your brow hairs upward and outward to reveal the natural shape
- Dip the angled brush into your eyebrow product (powder, pomade, or gel)
- Using short, light strokes, fill in sparse areas following the natural direction of your hair growth
- Define the tail and arch for a more sculpted look
- Use the spoolie again to brush through the brows
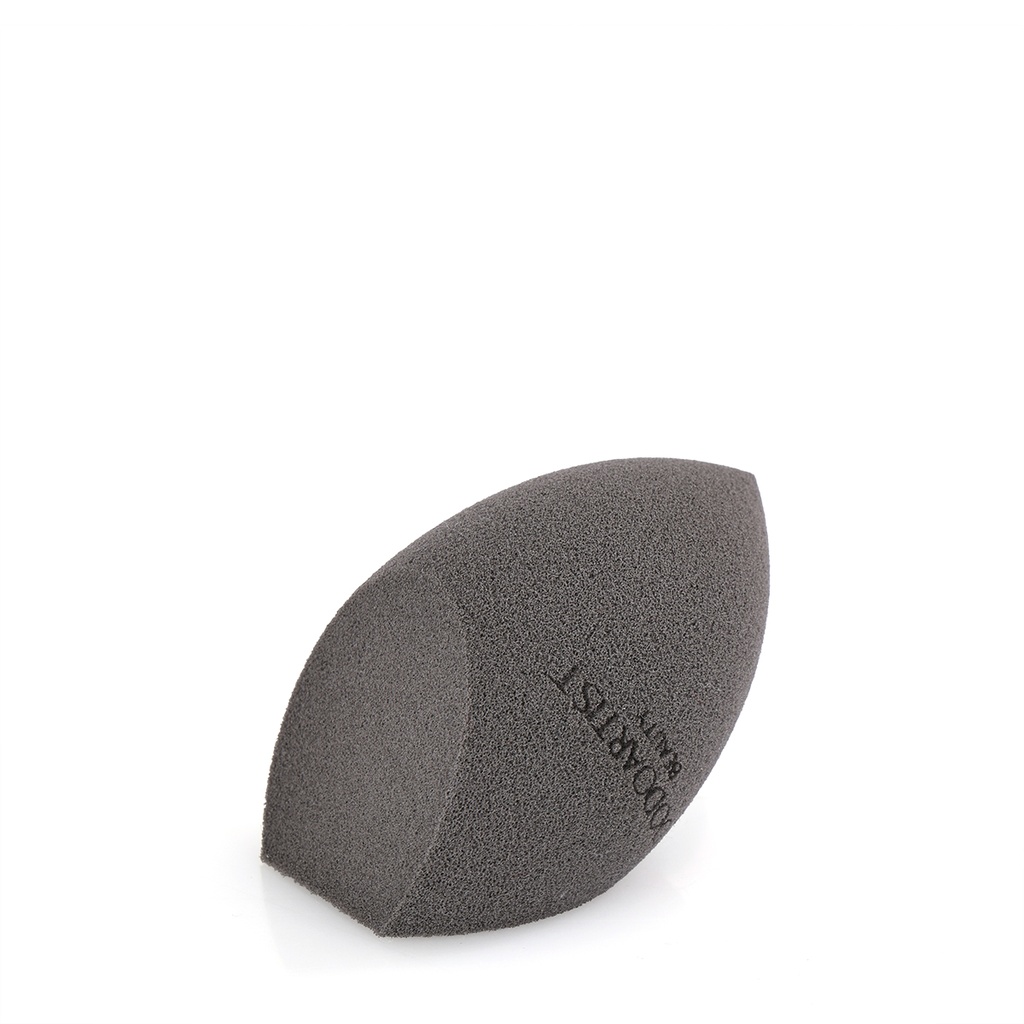
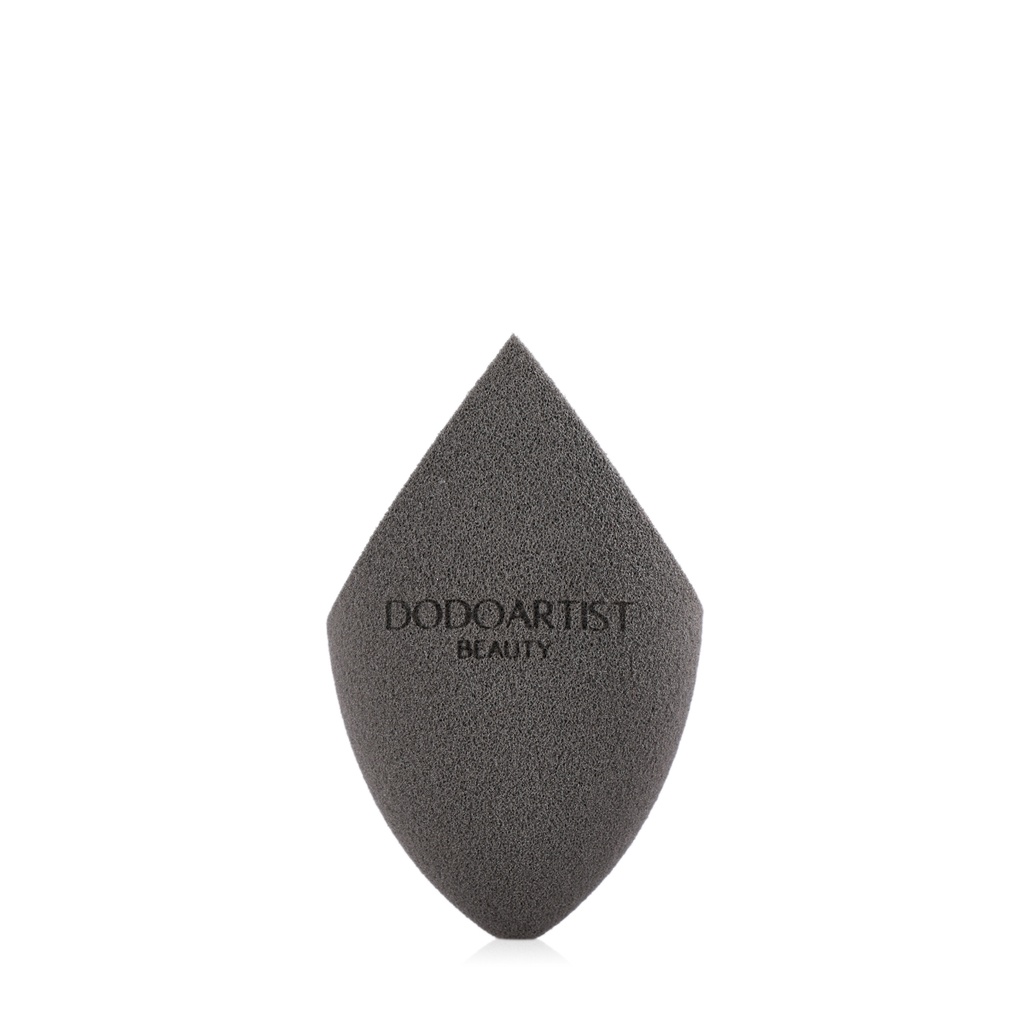
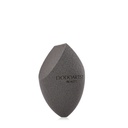
13. Beauty Blender - Black
How to Use:
- Dampen the sponge with clean water until it expands in size
- Squeeze out excess water, leaving it slightly damp for best results
- Apply foundation, concealer, or cream products directly to your skin or onto the blender
- Use the rounded side for larger areas of the face (cheeks, forehead, chin) and the pointed tip for hard-to-reach areas like around the nose, under the eyes, and corners of the mouth
- Bounce (stippling motion) the blender onto the skin to blend the product evenly. Avoid dragging or swiping, which can create streaks
- Build up coverage gradually by layering the product as needed
- Use a dry blender for setting powder application or touch-ups throughout the day
سهلت علي حيل الميك اب حيل فرش مكياج ناعمة بجودة عالية

Where we operate
- Kuwait
- Qatar
- Saudi Arabia
- UAE
- Bahrain
- Oman